Table of Contents
This feature adds Two-Factor Authentication functionality that can be used together with authenticator apps like Google Authenticator, Microsoft Authenticator, LastPass Authenticator, and others to provide improved security.

To activate this feature go to Profile Builder → Settings → General Settings → Two-Factor Authentication section → and enable the Two-Factor Authentication setting. In the “Enable Authentication For” drop-down, select which user roles will have access to the functionality and then click Save Changes. Once activated the users with valid user roles will be able to enable Two-Factor Authentication from the Edit Profile form.
By default, the setting Require TOTP Verification on Profile Edit is also enabled which will ask users to verify their TOTP code every time they edit their profile.
By enabling the Force 2FA for Selected Roles setting, you will be able to select specific user roles that will be required to set up two factor authentication in the Force 2FA for field.
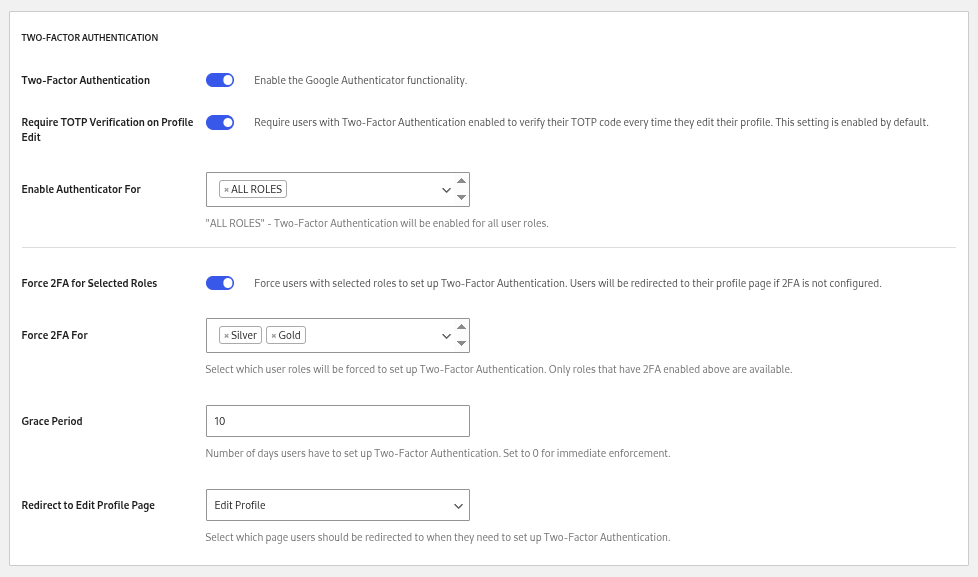
There is also an option to set a Grace Period to give some time to your users to set up Two Factor Authentication. By default it is set to 0 meaning all of the users with the selected roles will have to set up Two-Factor Authentication immediately.
Additionally, you can select a page with the Profile Builder Edit Profile shortcode to which the users should be redirected when they need to set up Two-Factor Authentication.
If a user has one of the selected user roles they will be shown a Two-Factor Authentication section at the bottom of the Edit Profile form. If they have an Authenticator app they can use it to activate the functionality.
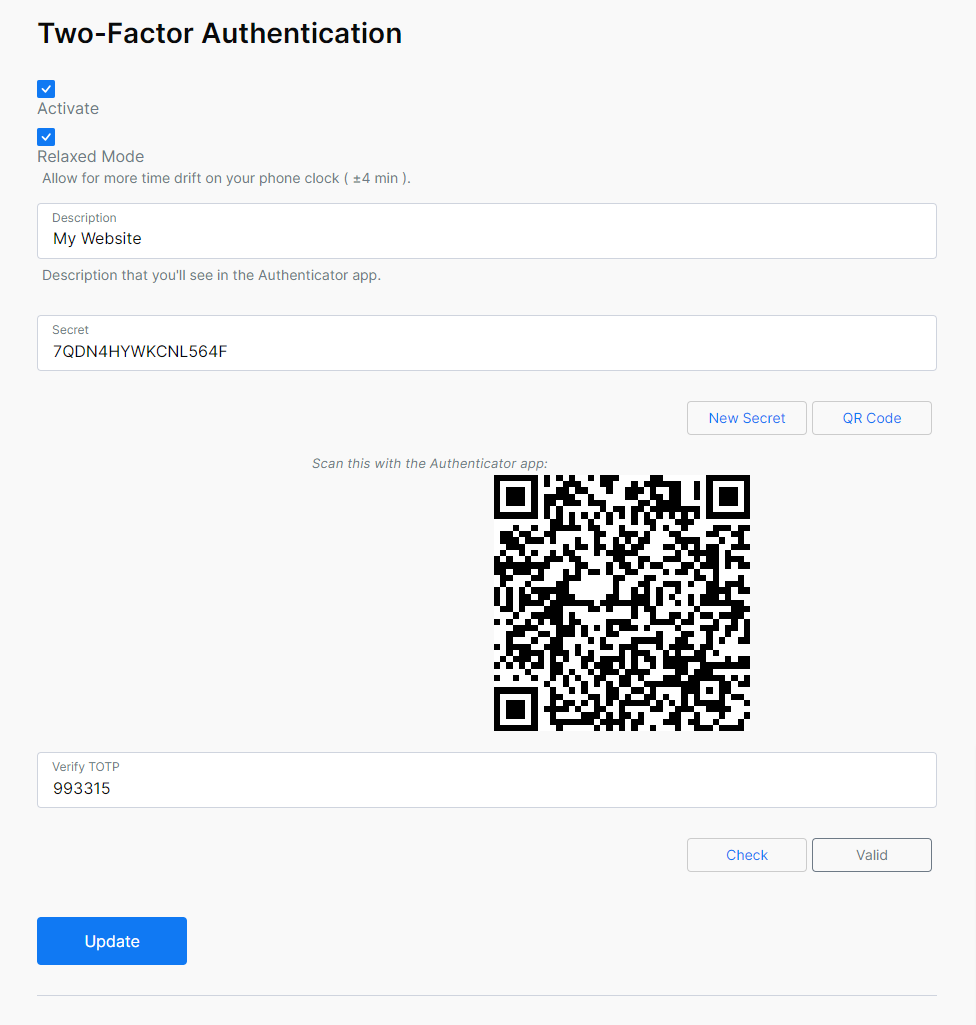
Here is an overview of the Two-Factor Authentication fields:
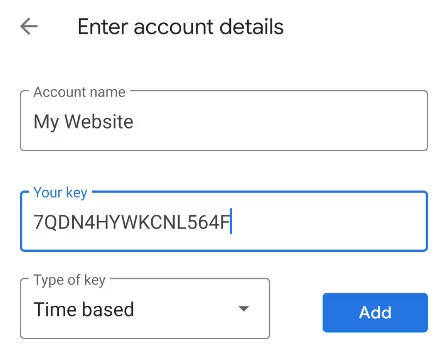
To set up the functionality in the selected Authenticator app you can either scan the QR Code or manually enter the Description and Key.
Here is an example where the Key and Description are manually entered into the Google Authenticator App:
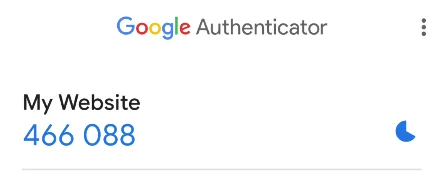
This is what the final entry will look like in the app:
This is the field that will be displayed on the Login form when users who have enabled the Two-Factor Authentication functionality attempt to log in. These users will have to input a valid TOTP (Time-Based One-Time Password) into it before they can do so.
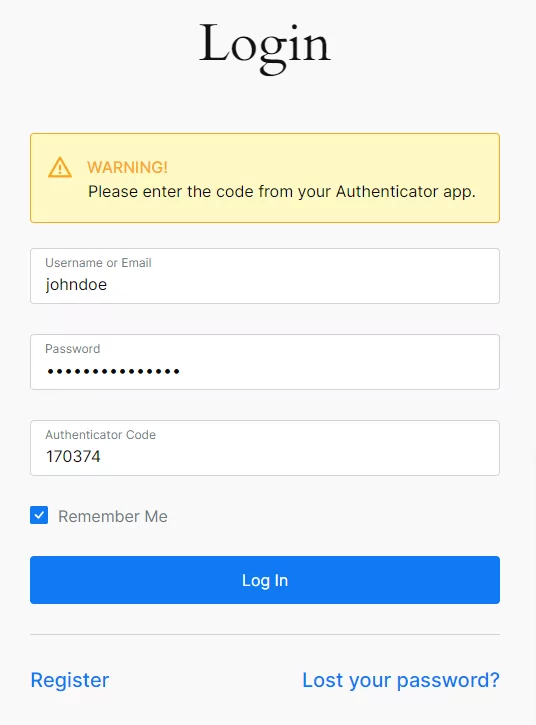
There is a shortcode argument that will permanently enable the field for a specific Login form as long as Two-Factor Authentication is enabled: [wppb-login show_2fa_field=yes]
Create beautiful front-end registration and profile forms with custom fields. Setup member directories, custom redirects, cutomize user emails & more using the all in one user management plugin.
Get Profile BuilderCombine the power of Profile Builder with Paid Member Subscriptions to set up user registration, memberships, and recurring revenue.
Get 25% off with the bundle