Table of Contents
First you will need to Login into your LinkedIn Account and then to access the LinkedIn Developers page.
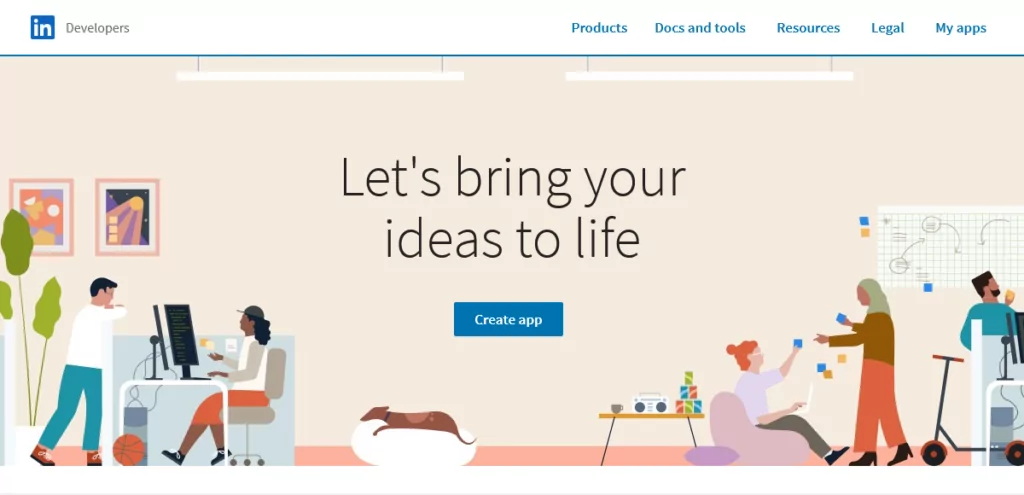
To create and use a LinkedIn app you will need to associate it with a LinkedIn company page. More information on this requirement can be found here.
After you login inside your LinkedIn Account and access the LinkedIn Developers page you will need to go to “My apps” and click on the “Create app” button.
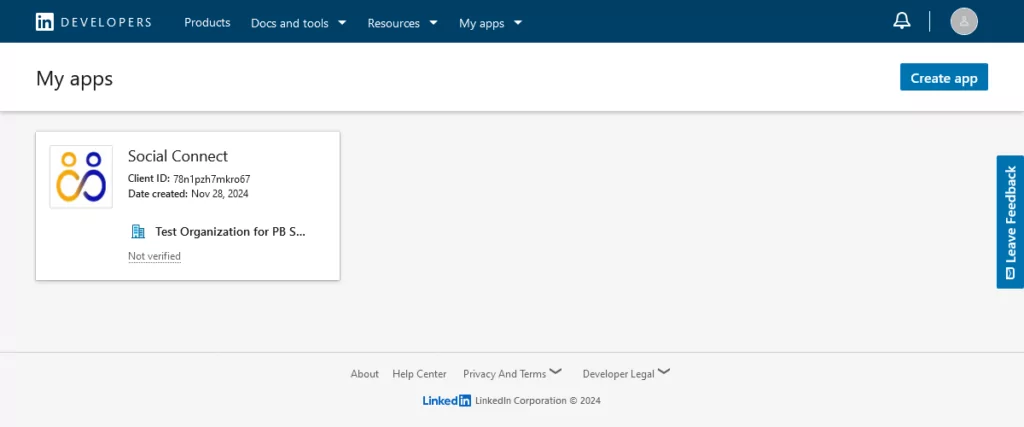
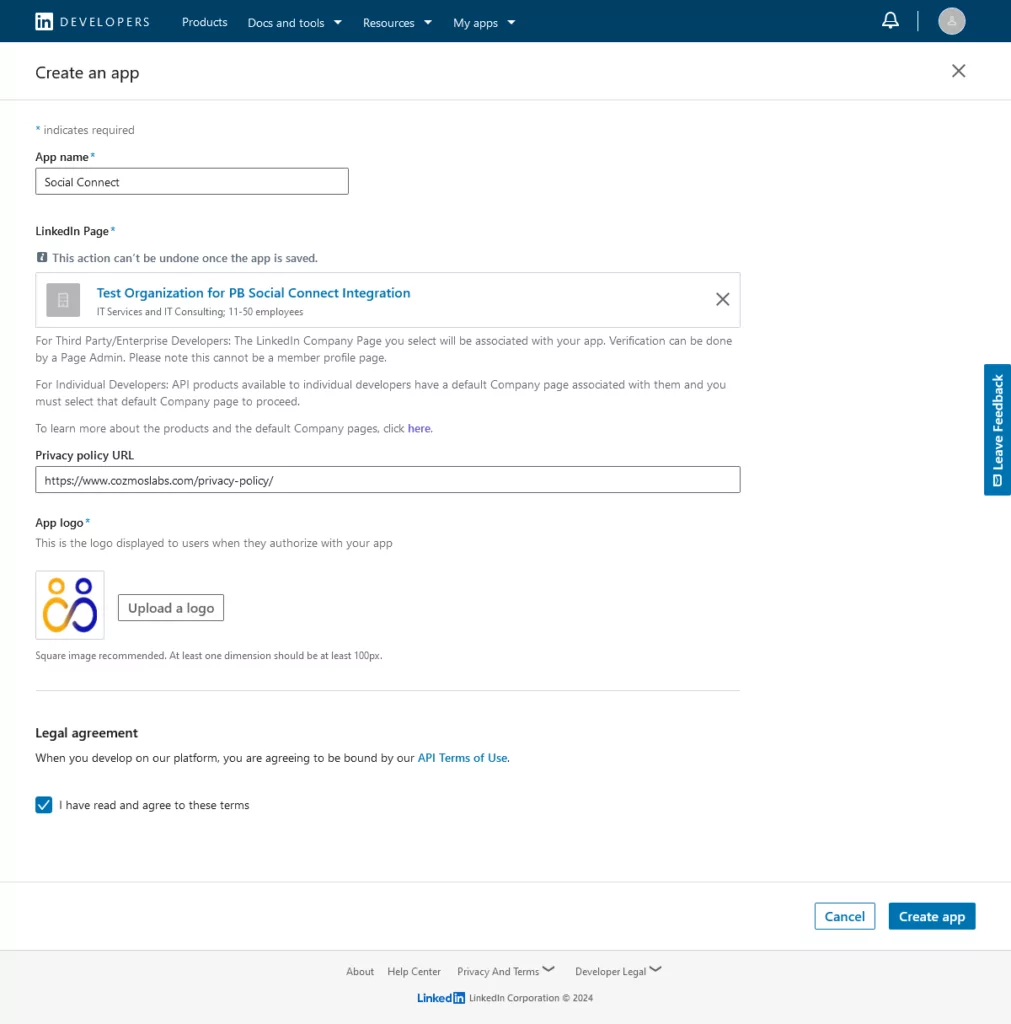
After clicking on the “Create Application” button you will need to setup the Application by filling in the required fields:
Make sure to check “I have read and agree to these terms” under the “Legal terms” section and then click on the “Create app” button.
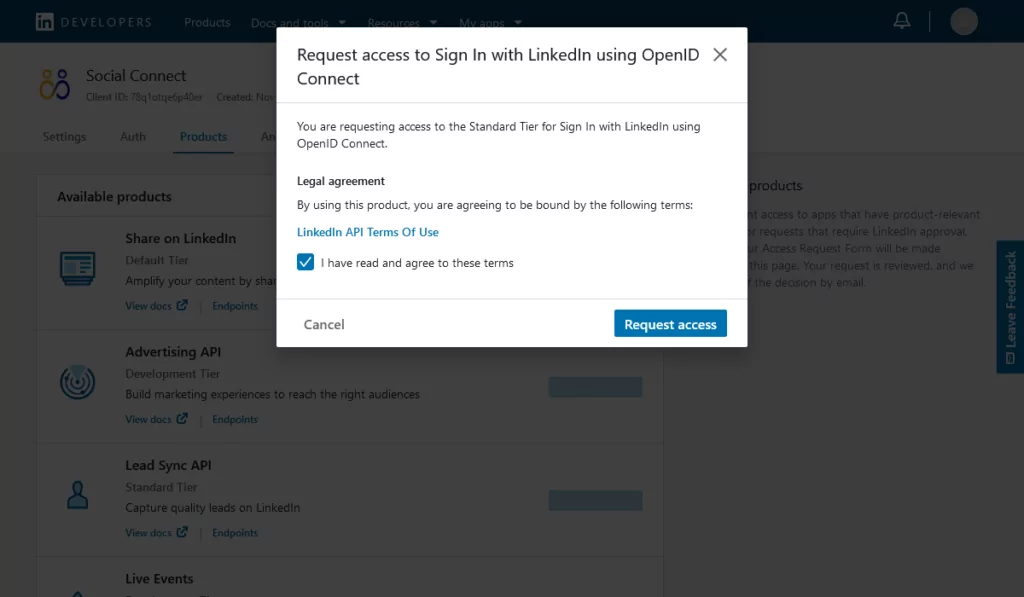
After clicking on “Submit” the Application will be created and you will be redirected to the Products section of the app page. Here you will need to request access to the “Sign In with LinkedIn using OpenID Connect” product.
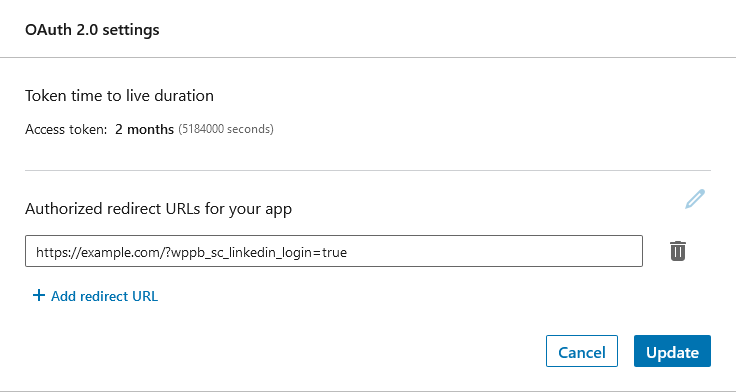
You should then go to the Auth tab and add your website URL to “Redirect URLs” under “OAuth 2.0 settings” with the wppb_sc_linkedin_login parameter at the end.
EXAMPLE: https://example.com/?wppb_sc_linkedin_login=true
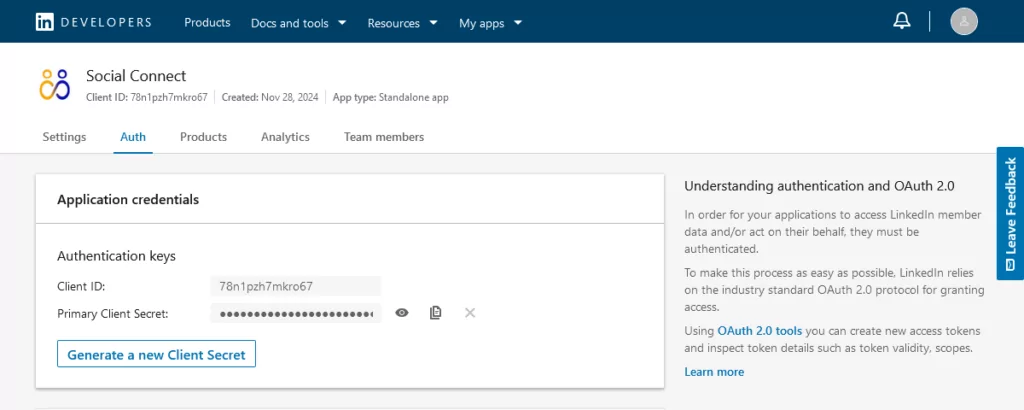
The next step is to Copy your Client ID and Client Secret.
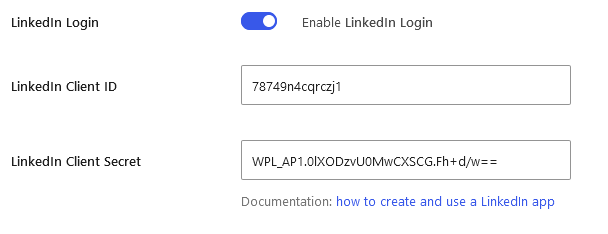
The following step is to go to your website -> Dashboard -> Profile Builder -> Social Connect -> Enable LinkedIn Login and paste your LinkedIn Client ID and Client Secret. Scroll to the bottom to Save.
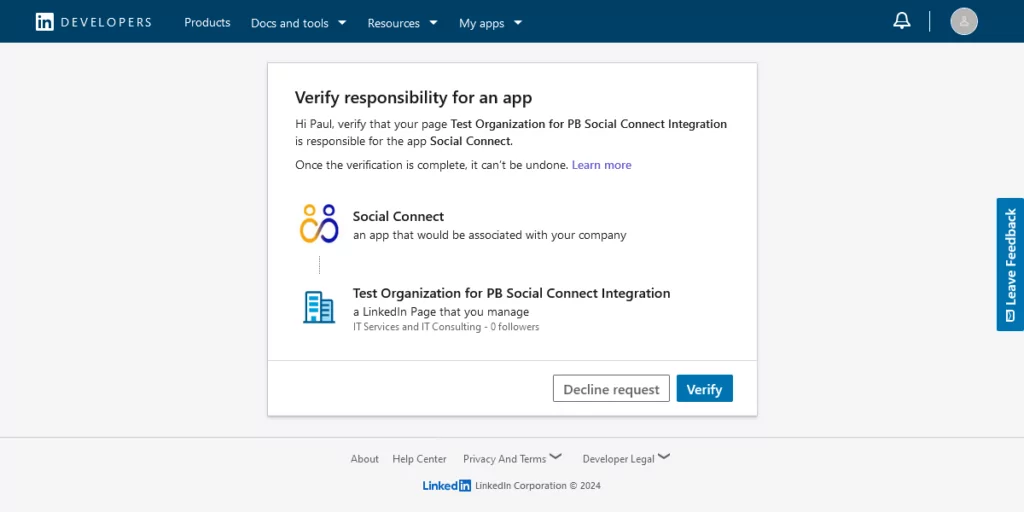
The final step is to go to the Settings tab, click the “Verify” button and proceed with the company verification process.
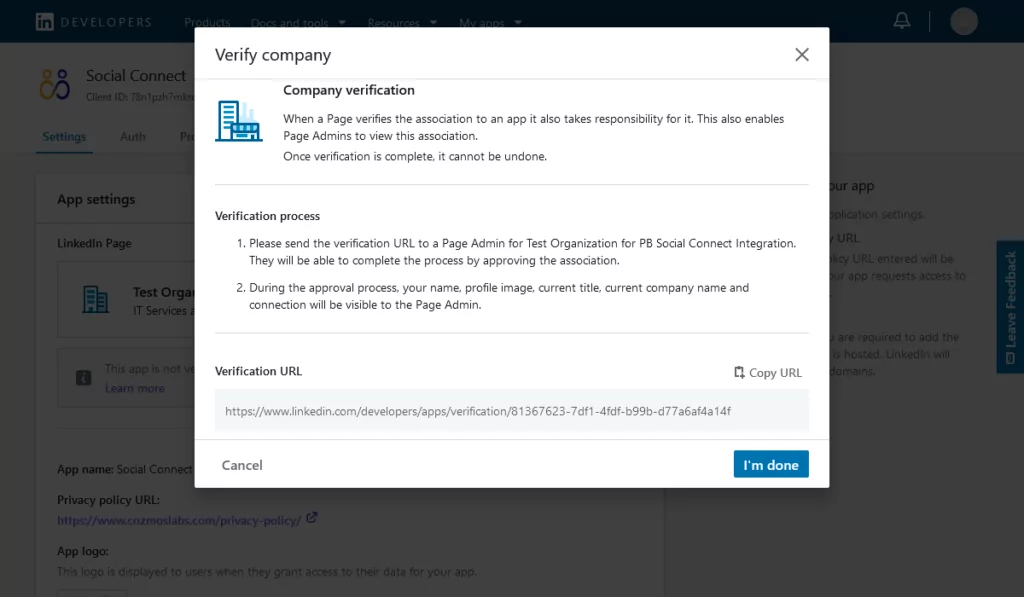
The admin for the associated LinkedIn Page will have to approve the request.
At this point Social Login with LinkedIn should be available on WordPress Default and Profile Builder forms.
Create beautiful front-end registration and profile forms with custom fields. Setup member directories, custom redirects, cutomize user emails & more using the all in one user management plugin.
Get Profile BuilderCombine the power of Profile Builder with Paid Member Subscriptions to set up user registration, memberships, and recurring revenue.
Get 25% off with the bundle