

Table of Contents
WordPress makes it possible to create any type of online course and sell it through your site. The Content Management System (CMS) offers plenty of plugins that enable you to deliver these courses. However, your course might not sell well if you don’t create a certification program.
The importance of certificates cannot be overstated. They provide proof that the student completed the course and most users will be delighted to receive one. Offering certificates might even help you attract new students looking to polish their CVs.
In this article, we’ll go over the benefits of offering certifications in WordPress. Then, we’ll show you how to create a certification program using Paid Member Subscriptions along with LearnDash and TutorLMS. Let’s get to it!
Why Create a Certification Program
Certifications and online learning go hand in hand. Since your students do all their coursework online, it can be easy to overlook their efforts. A simple certificate at the end of the course gives the students proof that they completed the program.
Even if the certificate isn’t officially recognized by regulatory bodies, it’s still something that students can show off or mention to future employers. This can make your course more appealing to prospects, and therefore result in a higher number of registrations.
With the right LMS, students will also be able to access their certificates at any point from their accounts:
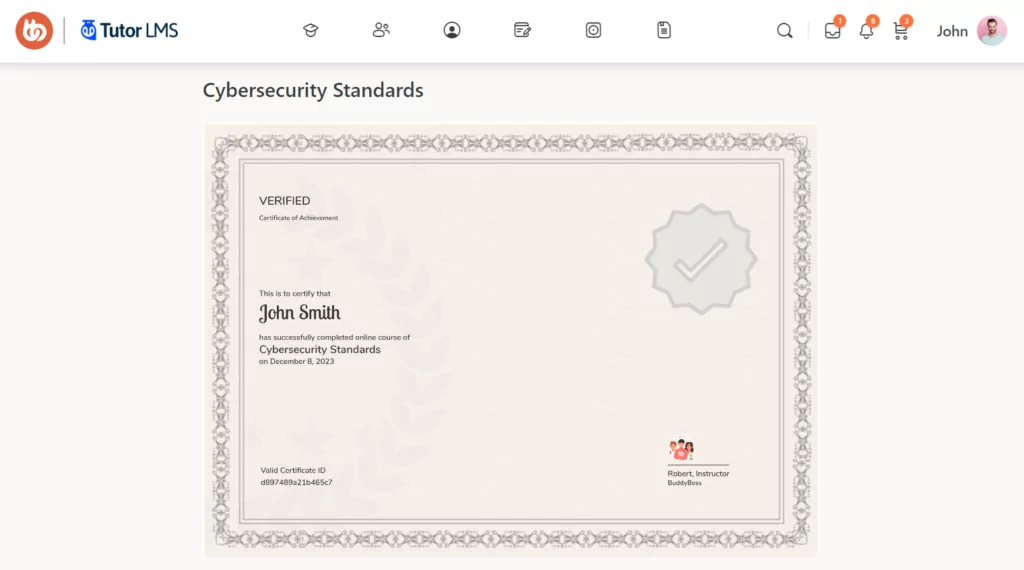
Creating a certification program doesn’t require you to design each document manually or add complex code to WordPress. You can create the certificate template in a few simple steps using any LMS plugin that offers this feature.
How to Create Create a Certification Program to Sell Online Courses in WordPress (4 Steps)
For this tutorial, we’ll be using our Paid Member Subscriptions plugin along with an LMS plugin that offers a certificate.
Paid Member Subscriptions Pro
Accept (recurring) payments, create subscription plans and restrict content on your website. Easily setup a WordPress membership site using Paid Member Subscriptions.
Get Paid Member SubscriptionsStep 1: Choose a WordPress LMS Plugin
LMS plugins are designed to provide you with the tools you need to create and publish courses. They also make it easy for students to follow the course and participate in lessons online.
The best LMS plugins offer some (or all) of these key features:
- Membership systems. This is what enables users to register on the site, enroll for courses, manage their profiles, and check what certificates they’ve earned.
- Online course builder. This is a collection of tools designed to help you create interactive courses. The course builder will enable you to upload lessons, create tests, and more.
- Course progression tracking. Without tracking functionality, students can forget what content they’ve already gone over. This feature is even more important if you’re offering multiple courses.
- Certificate program. As we’ve discussed, students love certificates.
- E-commerce functionality. This is necessary if you want to be able to sell the courses – it will enable you to collect payment and process transactions.
With those features in mind, we recommend either LearnDash or TutorLMS. These are two of the most popular LMS plugins on the market (and they both integrate with Paid Member Subscriptions).
Plus, they offer all the features you need to create a certification program for your courses.
For this tutorial, we’re going to use TutorLMS:

The premium version of the plugin offers an intuitive way to create a certification program. You’ll be able to generate certificates automatically and use a unique design for each course. Moreover, users will be able to access their certificates at any time by going into their profiles on your learning website.
Step 2: Create a New Course
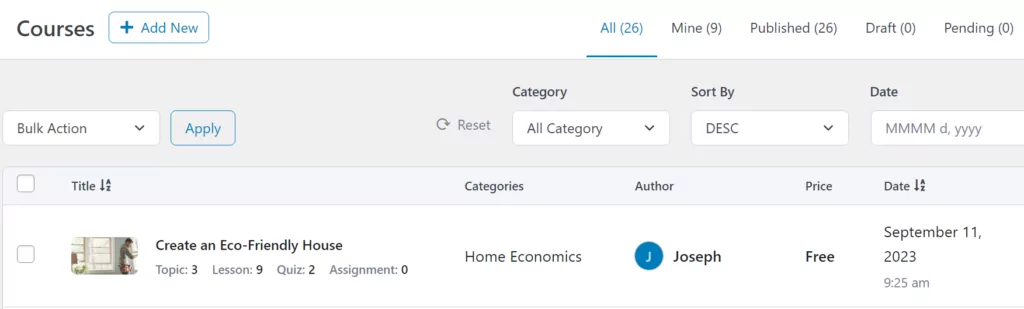
With TutorLMS Pro, you get access to an intuitive course builder. You can use this builder by navigating to Tutor LMS Pro → Courses. Click on + Add New at the top of the screen to create a new course.
You can also select an existing course by clicking on it to open the builder:
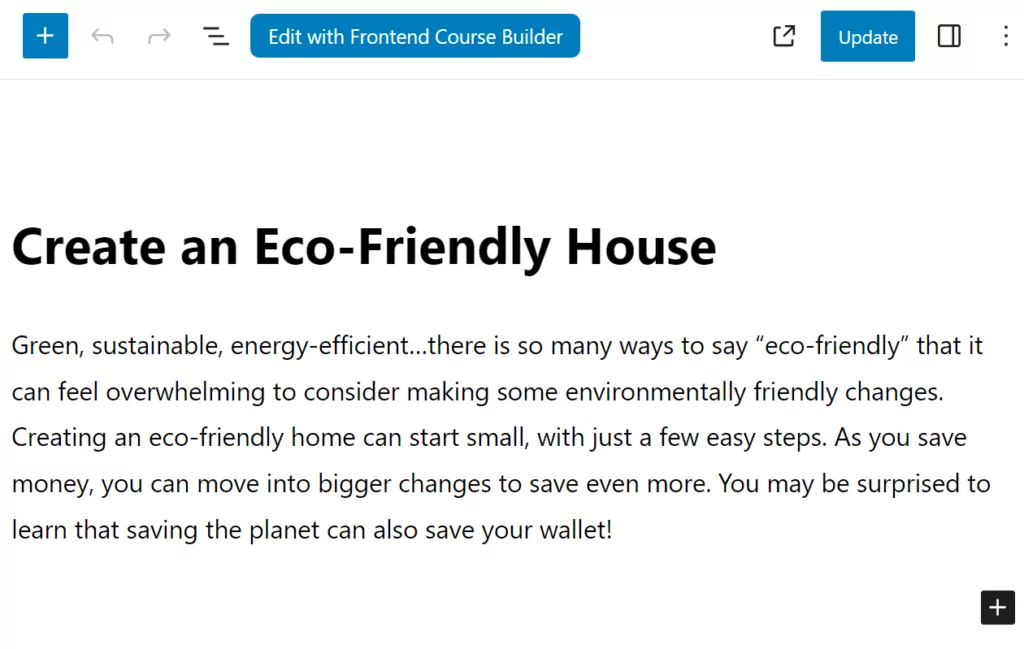
Once inside the builder, start by setting a name and description for the course. This will be the main hook for new students, so take the time to write something compelling:
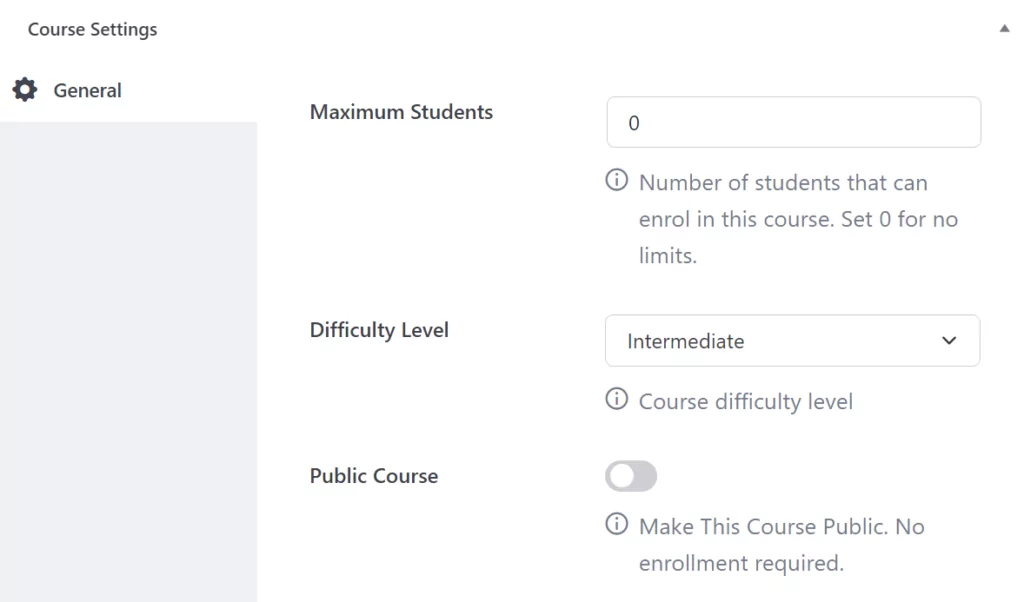
Now, move on to the Course Settings section. From here, you can set a maximum number of students, which can help make courses more interesting to prospective signups.
You can also set a difficulty level for the course to give users an idea of what they’re in for, and make the course public:
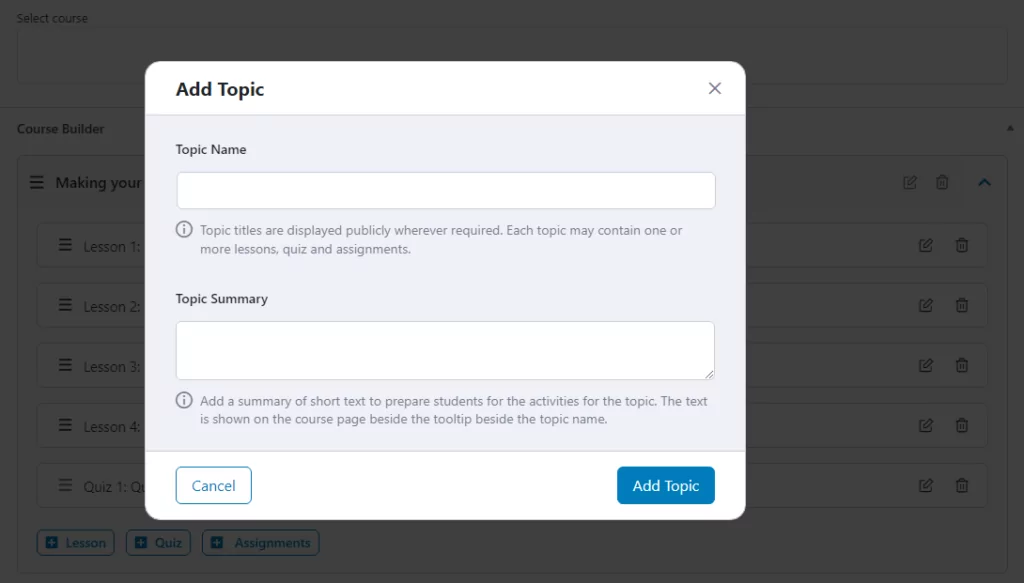
Each course can cover multiple topics. Look for the section that says Course Builder and click on + Add new topic:

A new topic requires a name and a summary. Students will be able to see these from the course overview page and each topic will direct them to a new page:
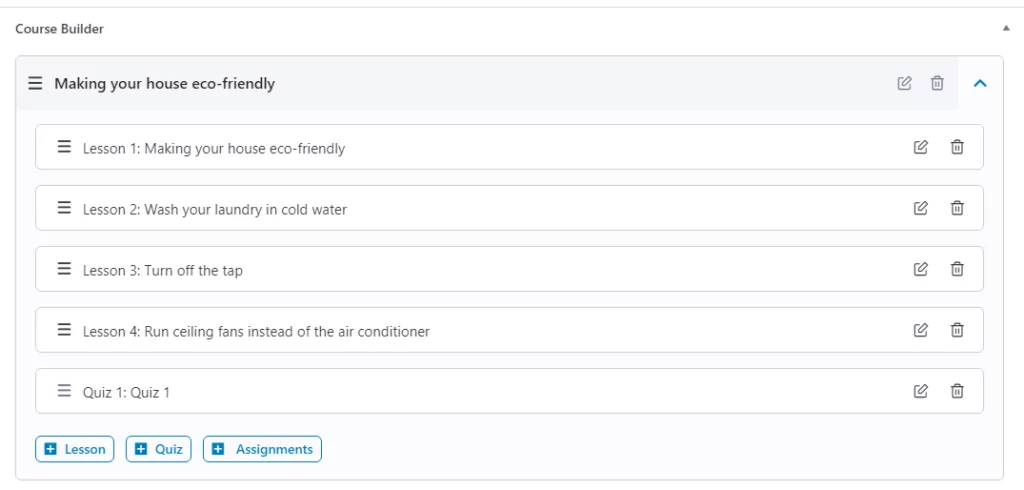
Once the first topic is set, click on it under the Course Builder menu. Each topic can contain one or more lessons, quizzes, and assignments. You can add these by clicking on the respective buttons for each topic:
When you add a new lesson, it will open a simple text editor where you can create the content. Lessons can contain text, media files, and videos:
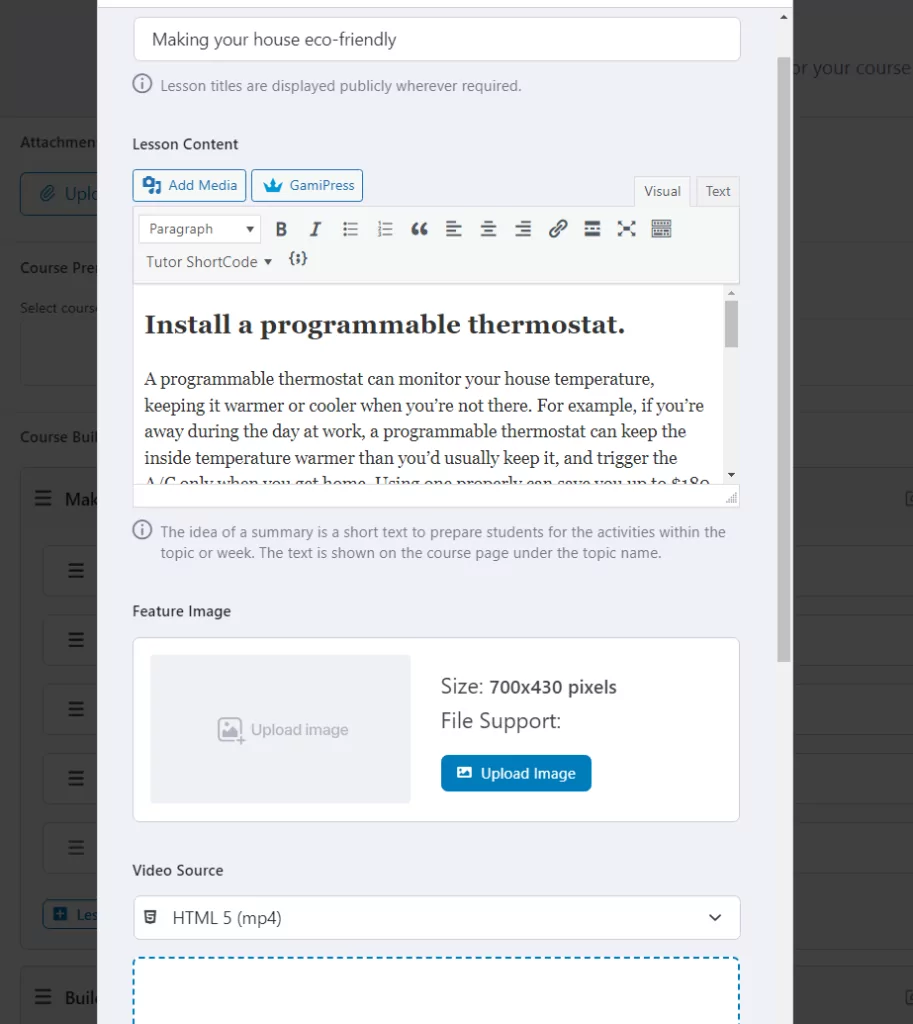
Including both video and text tutorials tends to be a winning combination for courses. However, your mileage might vary depending on what type of content your courses focus on.
That covers the basics of how to set up a course using TutorLMS. If you want to dig deeper into the plugin’s options, check out the official guide on using the TutorLMS course builder.
Step 3: Set Up Automated Certification for the Course
TutorLMS enables you to set up certificates that will be issued automatically when a student completes a course. You can configure these certificates by editing any of your existing courses.
Open the course builder and look for the Certificate Template section:
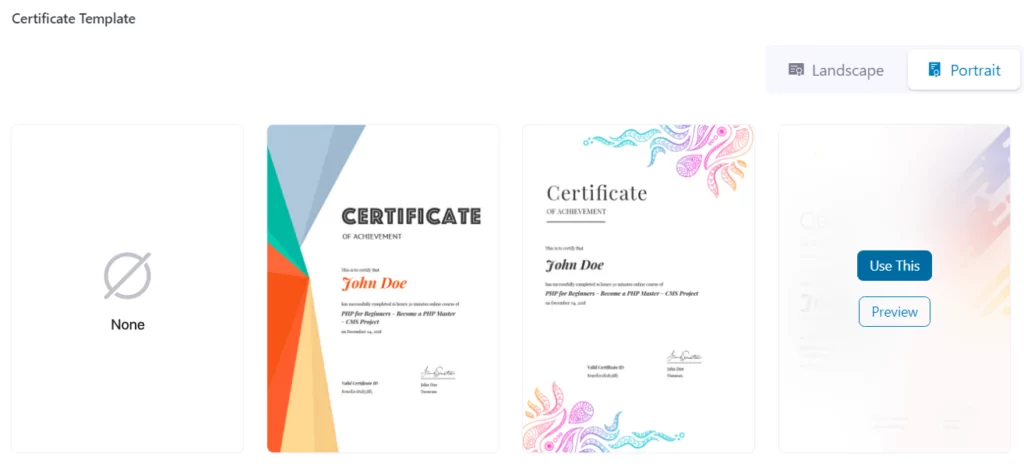
You can select between landscape and portrait designs. If you mouse over a template, you’ll see an option to preview it. Click on the Preview button to see how the certificate would look for a student.
When you find the template you want to use, mouse over it and click on Use This. Once you select the template, save the changes to the course.
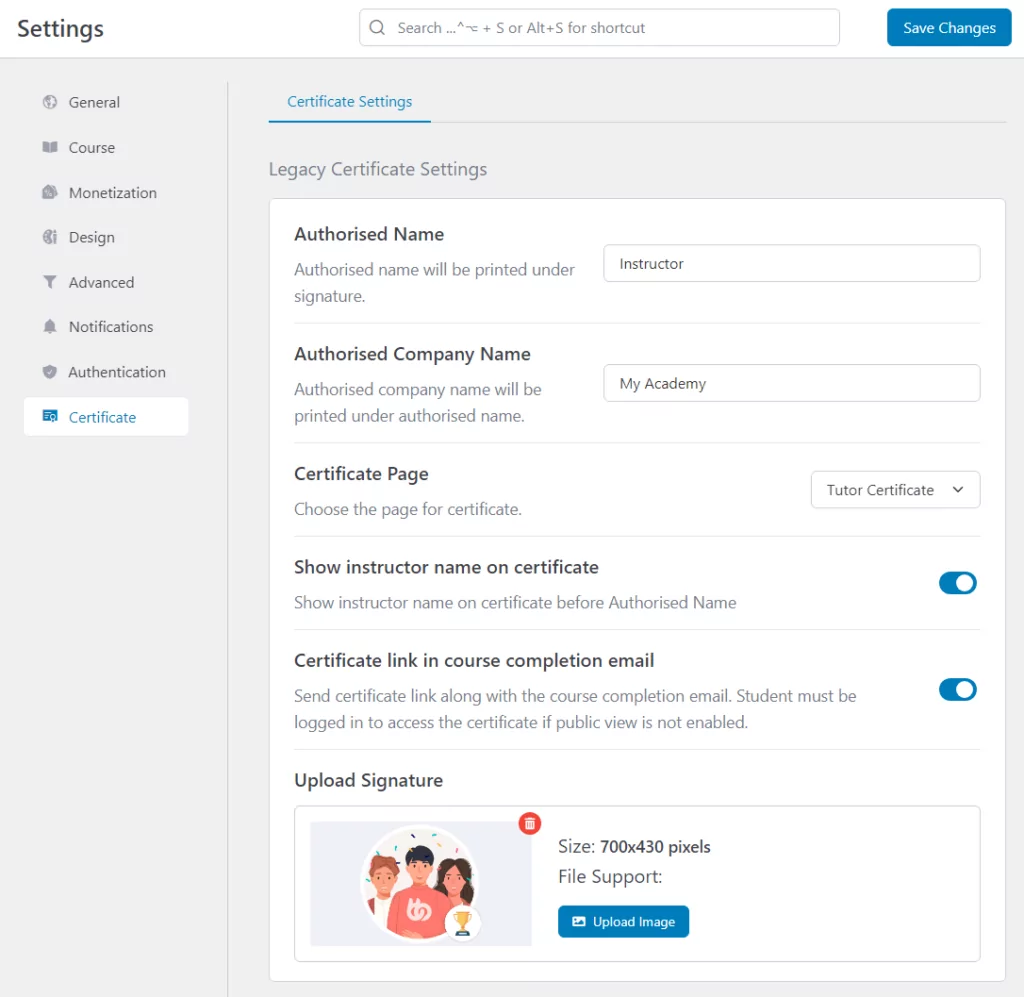
Now go to TutorLMS Pro → Settings → Certificate. Here, you can modify the default information that will appear on every certificate. That includes which name will appear under the certificate signature and the company’s name. You can also configure TutorLMS course completion emails to include links to their respective certificates:
When you’re done, save the changes to the plugin’s settings and that’s it. You now know how to create a certification program.
You’ll also want to publicize which of your courses offer certifications to help increase enrollments.
Step 4: Configure the Course Monetization Settings (Optional)
This step is necessary if you want to sell your online courses with certificates. TutorLMS only handles the learning side of the equation. To sell the courses you create, you’ll need to integrate TutorLMS with an e-commerce solution.
To get started, go to TutorLMS Pro → Settings → Monetization. Then, navigate to Select eCommerce Engine and choose the Paid Member Subscriptions option:
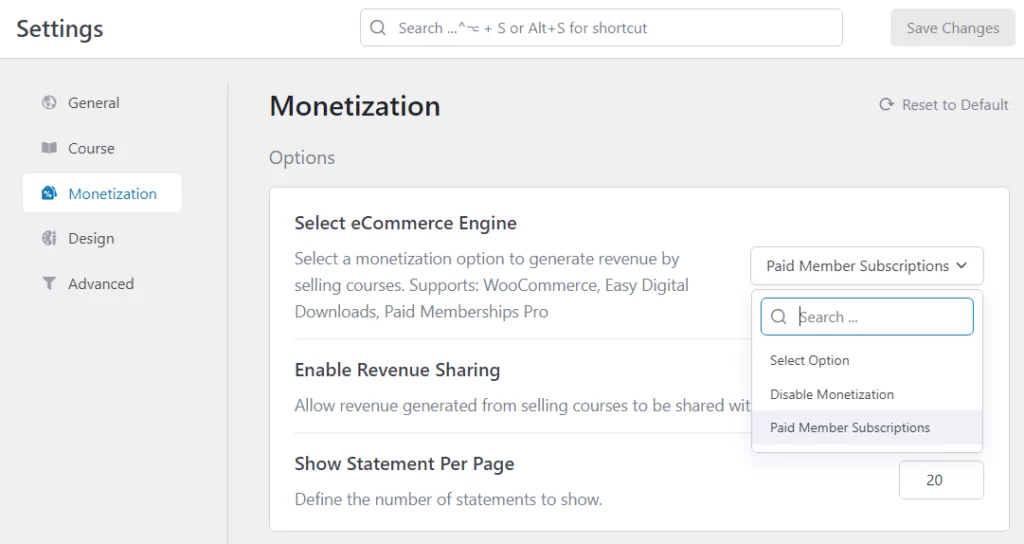
Note that it will only appear in the menu if you’ve installed the Paid Member Subscriptions plugin. This tool will enable you to sell your courses through recurring memberships.
Once you’ve saved your changes, it’s time to set up a subscription plan for your website. There are a lot of features to cover when it comes to using Paid Member Subscriptions, so you’ll want to read up on the following:
- Creating subscription plans
- Pricing strategies for subscription plans
- Configuring content restriction settings for each plan (to decide which plan gives access to which courses and certificates!)
- Creating an effective membership page
That’s a lot of homework, but it’s worth it if you want to monetize your courses and certificates. An effective subscription strategy will help you drive sales and that’s what Paid Member Subscriptions is all about.
Conclusion
If you plan on selling courses online, you’ll want to consider offering certificates. Many students will appreciate a professional-looking certificate for any online course they complete. It’s a simple way to show your appreciation to students and it’s something you can automate using the right LMS.
To recap, here’s how to create a certification program:
- Choose a WordPress LMS plugin ( we used TutorLMS for this tutorial)
- Create a new course.
- Set up automated certification for the course.
- Configure the course monetization settings (optional) with Paid Member Subscriptions.
Do you have any questions about how to create your certificates in WordPress? Let us know in the comments section below!
Related Articles

How to Automate WordPress with a Workflow Automation Tool
Interested in WordPress automation but not sure where to begin? In this post, we're going to cover everything that you need to know about automating WordPress. We'll start with some of the different reasons to consider using automations. After that, we'll give you a generalized tutorial on how to use a WordPress automation plugin named […]
Continue Reading
How to Create a Website for Affiliate Marketing
If you’re looking for a side hustle or want to create a passive income stream, affiliate marketing can be a good option. This involves promoting products by other companies, which can lead to commissions on sales and leads. But to get started, you’ll need to set up a website. Thanks to WordPress, creating a website […]
Continue Reading
Roundup of WordPress ecosystem #1 – January 2017
After writing the article "Overview of the WordPress Community in 2016" and getting feedback for the article on various platforms, I decided to continue writing them, but I changed its name into "Roundup of WordPress ecosystem". This is the first article from a monthly series that will showcase what happened around the whole ecosystem in […]
Continue Reading